Install a toilet back panel
Installing a toilet back panel is about more than just a neat finish. The panel conceals the in-wall tank, provides structural support around the wall-hung toilet, and largely determines the look of the room. That’s precisely why proper installation and a suitable finish are important, especially in a damp Toilet.
Anyone looking into a new toilet wall usually considers two scenarios: installing a new back wall around a wall-hung toilet or renovating an existing back wall without major remodeling. On this page, you’ll learn what practical factors to consider and when a renovation using wall panels might be a good option.
When is a toilet back wall needed?
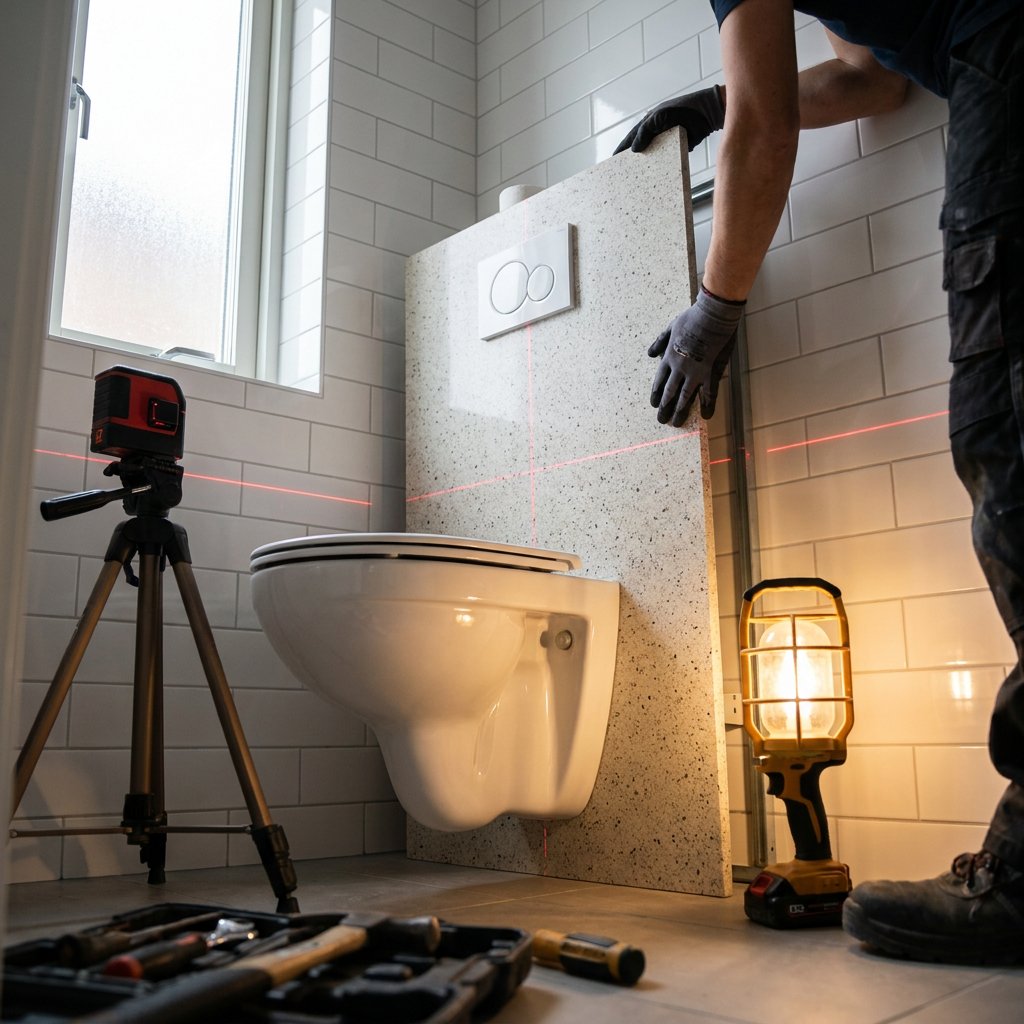
With a wall-hung toilet, a back panel is essential in practice. The built-in tank and frame must be concealed, and the front must be neatly finished around the flush plate, drain, and toilet mounting points. Without a proper enclosure, the mechanical components remain visible, and the wall is not ready for the final finish.
A new back wall can also be a good idea for an existing toilet. For example, if the old tiles are outdated, the wall is damaged, or the space needs a more streamlined look. In such a situation, the focus is less on the frame’s construction and more on the finish of the visible wall. Furthermore, if you’re considering switching from a floor-mounted to a wall-hung toilet, this almost always requires a new, precisely constructed back wall.
What should you keep in mind when building a back wall?
The base must be stable, level, and suitable for damp areas. This is especially important around a wall-hung toilet, because the openings for drainage, water supply, threaded studs, and the control panel must align precisely. Even small measurement errors are easily noticeable here and can cause problems later during installation or finishing. If you also need to replace the tank during the renovation, follow our step-by-step guide on how to replace a built-in tank.
- Sturdiness: The wall must fit snugly against the frame and substructure.
- Precise cutouts: Openings for connections and the flush plate must be marked out exactly.
- Moisture resistance: Choose a finish that is suitable for Toilet.
- Flat final result: important for tiles or panels that need to fit tightly together.
- Accessibility: Be sure to take into account the reservoir's access points and service openings.
A back wall that extends across the entire width often creates a more serene look. This can have a strong visual impact in a small Toilet, because it hides the transitions and visible equipment.
Which finish is right for your situation?
The right choice depends primarily on the existing situation and the desired level of renovation. If you’re building a new enclosure around a built-in tank, you’ll first need a sturdy foundation. Then comes the finish. If you mainly want to renovate an outdated toilet wall, you should look for a finishing layer that can be applied quickly and neatly over the existing surface.
Tiles on a newly constructed back wall
Tilework remains a popular choice when the backsplash is being completely rebuilt. It provides a classic, durable finish, but does require more work in terms of preparation, installation, and grouting.
Wall panels over an existing toilet wall
When renovating, a panel finish can actually be an attractive option, especially if you want to minimize demolition work. Refresh Bathrooms uses plastic composite panels in toilet and bathroom renovations that can be installed over existing tiles. This is particularly useful when the surface is still sufficiently flat and stable, but the look is outdated. Read more practical tips and information on choosing materials for wall panels in the toilet.
This approach works well for a quick bathroom renovation, because the existing wall doesn’t have to be completely removed. That minimizes disruption and allows for a sleek new back wall without a traditional renovation of the entire space.
Important Details Regarding the Finishing Touches
A neat backsplash often comes down to the details. The connections around the toilet, the pipe penetrations, and the flush plate require special attention. Sloppy edges or a crooked cutout will always be visible, no matter how beautiful the material is.
- Seal seams and corners to make them water-resistant: this helps prevent moisture problems.
- Measure cutouts carefully, especially around the control panel and connection points.
- Check that the toilet fits properly: the wall thickness affects installation.
- Trim carefully: a neat finish makes the overall look more visually pleasing.
A well-known point to keep in mind is sealing the toilet bowl completely all around. In many cases, however, it is actually recommended not to seal the bottom completely, so that any leaks remain visible rather than hidden behind the finish.
Replacing the Back Wall of a Toilet Without a Complete Renovation
Not every question about a toilet back wall involves building it from scratch. Often, the goal is simpler: the wall needs to be more modern, sleeker, and easier to maintain—without days of demolition work. In that case, it’s wise to consider not only the structure itself but also renovation methods that can be completed more quickly. If you’d like to have this done, check out our toilet renovation services for homeowners.
Is building it yourself or having it renovated a better fit for your situation?
Anyone having a toilet back wall installed is primarily looking for a sleek and durable result. When simply renovating a visible wall, the focus is mainly on aesthetics. Around a wall-hung toilet, however, the technical aspects are usually more important, because the dimensions, connections, and finish must be exactly right.
If you’re planning a complete bathroom renovation, it makes sense to consider the back wall as part of the rest of the space. In such cases, a total renovation can be more efficient than carrying out individual steps one after another. Refresh Bathrooms performs bathroom renovations for both residential and commercial clients, using quick renovation solutions designed to minimize disruption.
Want to read more? Check out all the articles on bathroom remodeling for a more in-depth look at this topic.
FAQ
Which back panel is suitable for a wall-hung toilet?
A back panel for a wall-hung toilet must be sturdy, finished with precision, and suitable for a damp environment. It is especially important that the panel fits snugly against the built-in tank and that openings for the flush plate, drain, and mounting points are cut out precisely.
How deep should the front wall of a built-in toilet be?
That depends on the built-in tank, frame, and front finish you choose. So there isn’t a fixed size that applies in every case. When determining the depth, you need to take into account the overall installation, including the visible finish. Also, check the minimum dimensions at Toilet to ensure that the frame, pipes, and back panel fit comfortably.
Can you install a new toilet back panel over existing tiles?
Yes, that’s possible in many cases, as long as the existing tiled wall is sufficiently flat and stable. In renovation projects, wall panels are one of the options used for this purpose, so that the space can be updated without first having to remove all the old tiles.
Can I install a toilet myself?
That depends on the situation. A wall-hung toilet with a built-in tank requires precise measurements and finishing, especially around the back wall. Anyone who wants a complete and sleek final result will therefore often consider whether a professional toilet renovation is a better option.