Shower Floor Slope: How Much Slope Is Needed?
A shower floor should slope slightly toward the drain. As a rule of thumb, a slope of about 1 to 2 cm per meter is used in many situations, but that’s not a fixed figure that always applies. The correct slope also depends on the drain, the tile size, and the available installation height. This makes a big difference, especially with a walk-in shower in a renovation project. If the slope is incorrect, you’ll be more likely to see puddles, water spilling outside the shower area, and, over time, moisture problems.
Why a walk-in shower never works properly without good drainage
The slope in a shower floor has one clear purpose: to direct water in a controlled manner toward the lowest point and thus to the drain. But a properly functioning shower floor isn’t just about the slope. The drain and shower channel for a walk-in shower, the floor construction, and the connection to the waterproofing must also be correct. If even one part of that system isn’t installed correctly, water can still pool. You’ll usually notice this quickly at home: puddles in the shower area, water splashing outside the shower, joints that stay wet, or a floor that dries only slowly after showering.
What slope is typically used in practice?
As a starting point, a minimum slope of about 1 to 2 cm per meter is often used for a shower floor. Consider this primarily as a guideline, not as a rigid standard for every situation. The final slope depends on the position of the drain, the size of the shower area, the tile size, and the available installation height. Anyone looking for a fixed standard for the slope of a shower floor will therefore often find that a custom solution is necessary. Incidentally, too steep a slope isn’t ideal either: it’s less comfortable to walk on, and it makes it harder to finish the floor smoothly.
The choice of drain determines the direction of the slope
Whether you choose a shower drain or a shower channel directly determines how the shower floor needs to be sloped.
| Choice | Impact on slope and structure |
|---|---|
| Shower drain | The floor slopes toward a single point. This often requires greater precision in the floor's shape and more cutting of the tiles. |
| Shower drain | The floor slopes toward a single line. This is often easier to install and more practical when using larger or elongated tiles. |
| Position relative to the wall | The distance from the wall is not a fixed measurement. It depends on the type of gutter, the flange, the wall finish, and the tile layout. |
| Limited installation height | In renovation projects, the available headroom can severely limit the choices for drainage and entry details. A completely flush entry without a threshold is therefore not always feasible. |
Do you need to change the drain location or height to achieve the proper slope? Learn more about adjusting pipes and drains.
Here's how to install a sloped shower floor
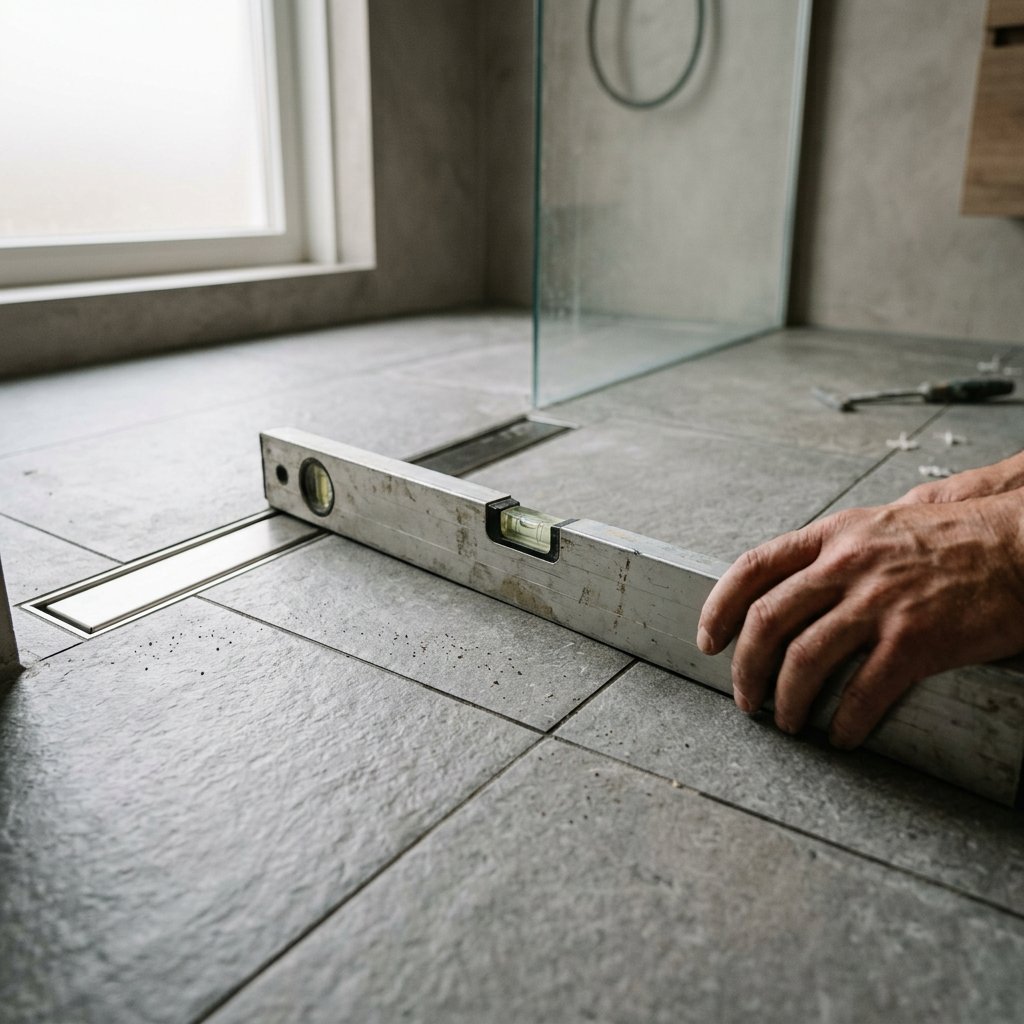
A sloped shower floor is often constructed using sand-cement or screed. First, reference points and guide lines are marked out so it is clear where the floor starts at its highest point and where it slopes downward toward the drain. Work then proceeds from high to low, and the mortar is carefully leveled toward the drain. This part, in particular, requires precision: the slope must run consistently throughout, without dips, kinks, or unexpected flat sections.
The mortar should not be too wet, otherwise you’ll lose control over its shape and stability. Proper compaction is important, as is removing the formwork in a timely manner and neatly filling in the grooves. Leveling with a slope is therefore not just ordinary leveling, but precise, custom work. For renovations, prefabricated slope panels can be a good alternative, for example, if a lighter structure is more practical or if load-bearing capacity and construction height are limited.
Waterproofing around the wall, sill, and drain deserves just as much attention as the slope
A slope alone does not make a shower floor safe from moisture. It is precisely the connections at the wall, threshold, and drain that are critical when waterproofing the shower corner. That’s why corner strips or collars are often used in the corners, and around the drain, a watertight connection compatible with the chosen system is required. This watertight layer must be planned, installed, and inspected before the final finish is applied. Waiting until after the tiling is complete is too late, because by then the risk is already trapped beneath the finish.
Which tiles work well on a sloped floor, and which ones don't?
- Large floor tiles are more difficult to install when sloping toward a point drain and are more likely to result in hollow spots or puddles.
- Smaller tiles conform more easily to the slope and are therefore often more practical for a shower drain.
- With a linear drain, larger tiles are usually easier to install because the slope runs in a single direction.
- Cut lines, grout lines, and the lowest points determine the layout. Tiling a walk-in shower is perfectly fine, provided the slope, drain, and waterproofing are correct first.
Here's how to tell if the slope is incorrect
If you're not sure whether the problem is really with the floor, always start with the simplest solution.
- First, clean the drain and the trap. A partial clog often causes the same problem as improper slope: water that drains slowly or doesn't drain at all.
- If a puddle keeps forming in the same spot, it could be due to insufficient slope, incorrect drainage direction, a drain that’s too high, or an illogical combination of drainage and floor construction.
- If water is actually flowing away from the drain or out of the shower area, this almost always indicates a problem with the slope.
- Limescale stains, grout lines that remain dark, and spots that stay wet for a long time often reveal exactly where water keeps pooling.
- With a simple water test or even a marble, you can often tell which way the floor actually slopes.
- If the problem doesn't arise until later, a shifting or sagging subfloor may also be a factor.
- Don't wait too long to make repairs. Standing water increases the risk of moisture in grout, mold, loose tiles, and other related damage.
If the drain is damaged or poorly positioned, renovating or replacing the shower drain is often the best course of action.
When Repair Is the Smart Choice and When Rebuilding Is Better
The right solution depends on the cause. That’s why a professional first examines the location of the puddle, the drain height, the subfloor, and the existing floor structure.
| Situation | What Often Makes Sense |
|---|---|
| Dirt or a minor clog | Clean the drain and trap, then retest. |
| Minor local deviation | Sometimes a minor adjustment to the grate or a small section of the floor is enough. |
| Incorrect drain height or error in the installation | In that case, rebuilding the shower floor is often the better and more sustainable solution. |
| Concerns About Waterproofing | Don't just repair the slope; assess the entire system. |
To ensure an accurate assessment, it helps to provide photos taken immediately after showering, details about the type of drain, how long the problem has been occurring, and whether any signs of moisture or mold are already visible. When renovating, it’s usually best to treat the slope, drain, and waterproofing as a single system. Are you considering professional installation with the proper slope? Check out our page on having a walk-in shower installed.