
When it comes to bathroom wall panels, the thickness and dimensions largely determine how sleek the final result will be. The right dimensions result in fewer seams, a neat fit around the shower, niche, or sink, and a smoother renovation process. Especially for a bathroom renovation without any demolition work, accurate measurements are therefore just as important as the panel’s appearance.
Refresh Bathrooms uses plastic composite panels that can be installed over existing tiles as part of bathroom, shower, and toilet renovations. Exact standard sizes or fixed thicknesses are not publicly specified within the confirmed product range, but there are clear considerations to help you make an informed choice. If you’d like to learn more about material properties and common thicknesses, read “Composite Wall Panels: Explanation and Properties.”
Why Thickness and Dimensions Are So Important
Many people focus first on color or finish, but in practice, a good wall panel project starts with the dimensions. A panel must fit the wall’s height, width, and any existing obstacles such as faucets, pipes, or a shower drain. The better the dimensions match the space, the more serene and sleek the bathroom will look.
Thickness also plays a role. It affects the wall’s construction, the connection to existing details, and how a panel is installed in a renovation project. This is particularly relevant when renovating over existing tiles, since you’re working with an existing substrate and fixed connection points.
What is the ideal thickness for bathroom wall panels?
There is no single universal ideal thickness that applies to every bathroom. The right choice depends on the application, the substrate, and how the renovation is carried out. In a bathroom, it is especially important that a wall panel be suitable for damp areas, install smoothly, and fit well with the existing layout.
When renovating over existing tiles, you should therefore consider not only “how thick a wall panel is,” but above all the overall structure. Think about the transition to window frames, plumbing fixtures, shower walls, and corners. A panel must fit in well with these elements, both technically and visually.
Since Refresh Bathrooms does not publicly specify standard thicknesses for this topic, it is advisable to always evaluate thickness in conjunction with:
- the existing wall and tile substrate
- the wet area, such as a shower or bathtub wall
- Finishing corners and joints
- cutouts for faucets, pipes, and accessories
What are some practical dimensions for a bathroom?
When it comes to dimensions, it’s not just about the length and width of a panel, but mainly about how those measurements relate to the space. In a bathroom, you usually want as few interruptions as possible. Large panels can help with this, because they result in fewer seams than a layout made up of many small pieces.
The most practical size is therefore the one that covers a wall surface as completely as possible, with as little cutting as possible. This is especially important in the shower area and on large feature walls. Fewer seams usually also result in a cleaner look and fewer areas where the finish requires extra attention. If you specifically want as few joints as possible in the shower and a sleek, seamless look, read “Seamless Wall Covering in the Shower.”
When choosing or determining dimensions, the following factors are usually considered:
- total wall height and wall width
- Position of Angles and Interior Angles
- windows, alcoves, and cove structures
- faucets, shower sets, and drain outlets
- the desired connection to the floor and ceiling
Accurate measurements prevent problems during the renovation
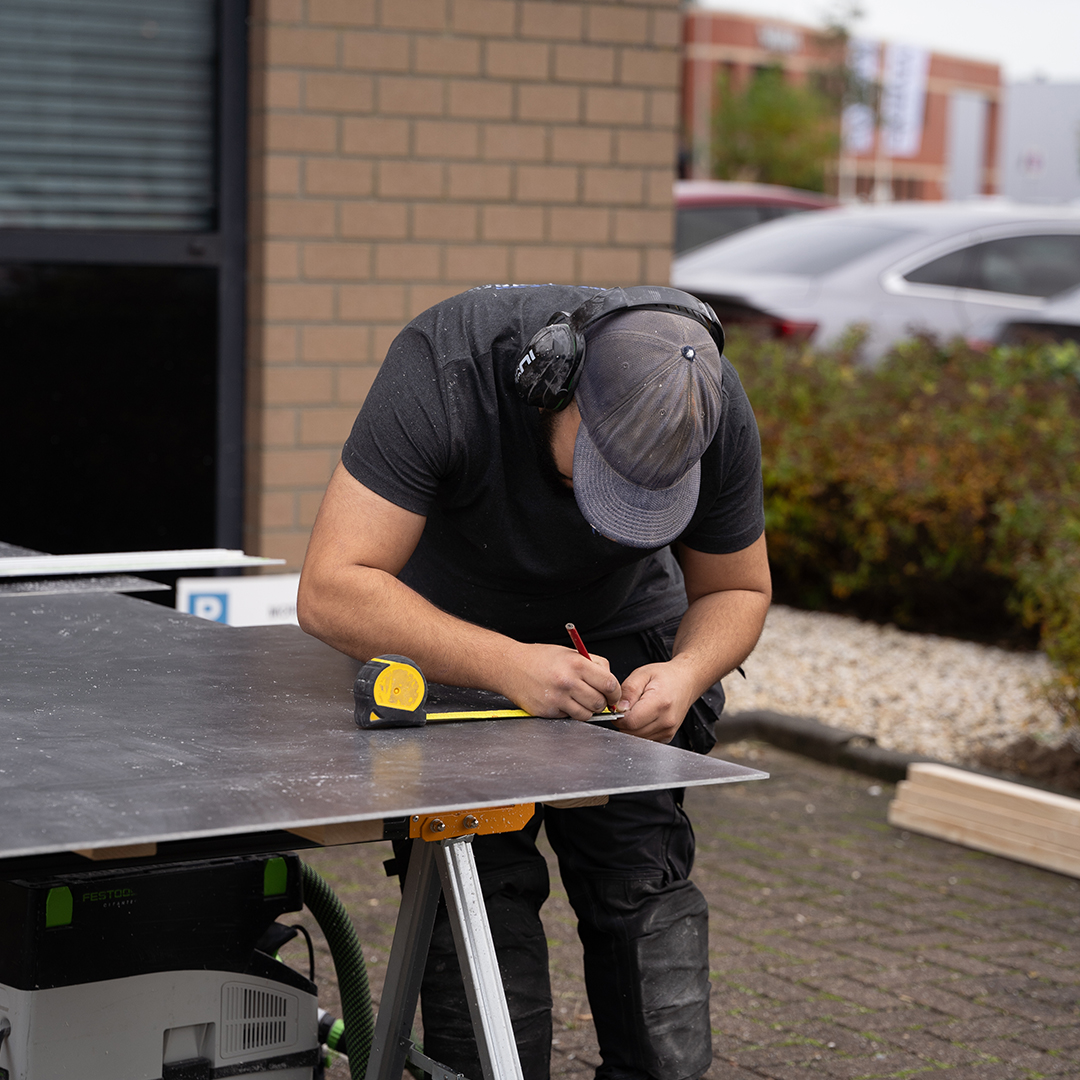
When it comes to bathroom wall panels, taking precise measurements is more important than many people realize. Even a small measurement discrepancy can become noticeable on a long wall, a corner, or around a faucet cutout. That’s why it’s a good idea not only to note the total wall dimensions but also to check whether a wall is truly square and level.
When taking measurements, be sure to keep the following points in mind:
- Take measurements at several points. A wall may vary slightly at the top, middle, and bottom.
- Check for obstacles. These include pipes, electrical outlets, control panels, and faucets.
- Measure from fixed reference points. This will help you avoid discrepancies in cutouts.
- Take connections into account. Corners, profiles, and edges must be able to be finished neatly.
This is especially important when renovating over existing tiles. After all, you’re not working with a completely new, bare wall, but with an existing situation where precision down to the millimeter counts. For practical guidance, see “Installing Wall Panels: A Step-by-Step Guide ” for helpful measuring and cutting tips.
How much space should there be between wall panels?
The required spacing between wall panels depends on the system chosen and the finishing method. It is not possible to specify a safe, universal measurement without product-specific details. What is certain, however, is that seams and joints in a bathroom must be carefully planned and finished, especially in wet areas.
In practice, you want to minimize the number of seams as much as possible and have them end in logical places—for example, in a corner or at a natural division in the space. This creates a more harmonious result and avoids unnecessarily complex finishing work in the middle of a visible wall.
Thickness and Dimensions for Renovations Over Existing Tiles
A key advantage of Refresh Bathrooms’ method is that plastic wall panels can be installed over existing tiles. In such cases, thickness and dimensions are particularly important. This is because you’re dealing with an existing wall structure, existing connections, and limited space around plumbing fixtures and trim.
For a renovation like this, the following questions are particularly important:
- Does the panel fit neatly into the existing setup?
- Will faucets, shower enclosures, and drains stay properly aligned?
- Is it possible to divide wall surfaces in such a way that there are as few visible seams as possible?
- Does the design fit well with the rest of the bathroom, or Toilet?
That is why custom sizing during the preparation phase is often more important than searching for a “standard ideal size.” The best solution is the size that fits technically and looks balanced.
What should you keep in mind if you want to have bathroom wall panels installed?
If you're considering bathroom wall panels, it's a good idea to look not only at their appearance but also at their practical installation. Always ask how the dimensions are determined, how cutouts are accounted for, and how the panels will fit with existing tiles and fixtures.
For a quick renovation with as little disruption as possible, it is especially important to thoroughly assess the entire wall surface. This ensures that the thickness, dimensions, and placement of wall panels are not considered in isolation, but as part of a single renovation plan.
Frequently Asked Questions
What is the ideal thickness for a bathroom wall?
The ideal thickness depends on the substrate, the application, and the desired finish. In a bathroom, it’s not just about the thickness itself, but also about the overall installation and how it connects to existing tiles, corners, and plumbing fixtures.
What is the ideal thickness for bathroom wall panels?
There is no single thickness that is always the best. The right choice depends on the system, the renovation situation, and how the panel is incorporated into the space. If you’d like to learn more, see also “Wall Panels in the Bathroom: Options and Applications.”
How thick is a wall panel?
That varies depending on the type of panel and the supplier. Within Refresh Bathrooms’ confirmed product range, no specific thicknesses or standard specifications are listed for this product, so its practical suitability for your bathroom is more important than a general measurement on its own. See also “SPC Wall Panels Explained.”
How much space should there be between wall panels?
That depends on the system and finish. In bathrooms, it is especially important to keep joints to a minimum and finish them properly, so that the overall look is sleek and the space remains suitable for damp areas.