
A bathroom renovation doesn’t start with demolition, but with choosing the right order of steps. Knowing in advance which steps are necessary helps you avoid delays, extra costs, and decisions that will need to be reversed later. Below is a clear step-by-step guide to renovating a bathroom, from preparation to completion.
Do you want to know not only the correct order of steps, but also how to tackle a renovation more quickly and with less disruption? If so, it’s a good idea to start looking for solutions that fit your space, needs, and schedule as early as the design phase.
What is the correct order for a bathroom renovation?
The correct sequence of steps for a bathroom renovation is usually: planning, measuring, determining the layout, technical preparation, preparing the substrate, finishing the walls and floor, installing the fixtures, and neatly completing the bathroom. That sequence seems logical, but problems often arise precisely in the details. Think of a shower that doesn’t align properly with the drain, insufficient space around the vanity, or lighting that was included in the plan too late.
A good step-by-step plan helps you make the right decisions at the right time. This ensures that the layout better suits the space’s intended use and makes the renovation process more organized. Want to better understand the entire process? Then read: Complete Bathroom Renovation: What’s Involved?
Step 1 – Decide what you want to change
Start by asking yourself exactly what needs to be updated. Are you looking for a complete makeover, or mainly to modernize your existing bathroom? Think about the features that are most important to you, such as a walk-in shower, new bathroom cabinetry, different flooring, a toilet, or a suspended ceiling.
Also consider daily use. How many people use the bathroom, how much storage space do you need, and do you want to keep the current layout or change it? The more specific you are about these details upfront, the easier the next steps will be.
Step 2 – Measure the bathroom carefully
A renovation plan stands or falls on accurate measurements. Therefore, be sure to measure not only the length and width of the room, but also the height, the location of windows and doors, and the position of existing utility connections. Also, take note of sloped walls, protruding sections, and the available walking space.
With accurate measurements, you can better assess what will actually fit. This prevents you from having to move bathroom fixtures later or compromise on comfort.
Step 3 – Finalize the layout
Now decide where each element will go. Consider the placement of the shower, toilet, furniture, and any extras. This phase is all about ease of use: plenty of room to move around, logical traffic flow, and a layout that feels comfortable in everyday use.
This is precisely where the most important decisions are made. If the layout changes later, it often affects drainage, water lines, electrical systems, and scheduling.
Step 4 – Adjust the tuning and connections
Once the layout is finalized, it must be clear where drainage, water outlets, electrical connections, and ventilation are needed. This is a crucial step, because the technical systems must be compatible with the chosen layout.
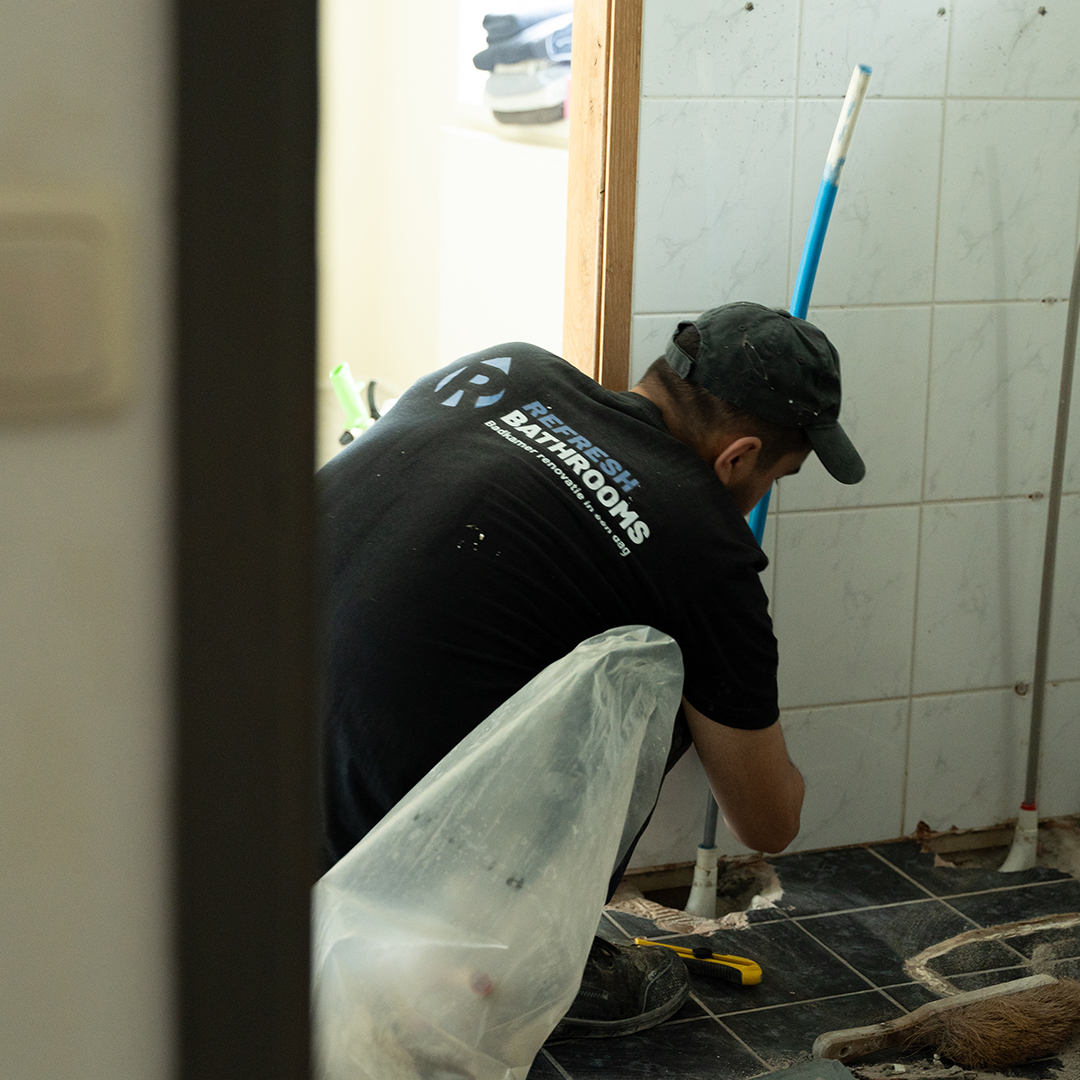
In a traditional renovation, this often means extra demolition work. There are also types of renovations where this is much more limited. Refresh Bathrooms, for example, uses plastic composite panels over existing tiles, which means that in many cases, a complete bathroom renovation can be carried out with minimal demolition work. Are you planning to use panels? Check out the “Installing Wall Panels: Step-by-Step Guide.”
Step 5 – Choose the finishes and materials
Only once the layout and technical details are finalized is it time to choose the finishes. Consider wall finishes, flooring, colors, and the style of the furniture and fixtures. If you make these choices too early, you run the risk of selecting something that won’t fit well with the practical layout later on.
When making your choices, consider not only appearance, but also maintenance, durability, and how quickly the chosen solution can be installed. This is especially important in a renovation project, as it affects the overall timeline and the amount of disruption.
Step 6 – Prepare thoroughly for the implementation
Before work begins, it’s helpful to have a complete plan in place. Ordered materials, clear agreements, access to the home, and a realistic completion date help prevent unnecessary delays. It’s also wise to discuss in advance which tasks are truly necessary and which can be scaled back.
In a traditional renovation, this phase often involves demolition, removal, and rebuilding. Faster renovation processes are also possible. At Refresh Bathrooms, the process begins with a free on-site consultation, which includes design, color samples, and a quote. This helps you make informed decisions upfront.
Step 7 – Carry out the renovation in the correct order
During the performance, the order is more important than many people realize. Broadly speaking, it looks like this:
- 1. Prepare the existing bathroom —inspect the existing bathroom and, where necessary, remove or modify components.
- 2. Prepare the surface —make sure the walls and floor are ready for the new finish.
- 3. Renovate the walls and floor —start with the basics, then move on to the visible finishes.
- 4. Install plumbing fixtures and furniture —such as a shower, toilet, and bathroom cabinet.
- 5. Finishing – neatly finish seams, joints, and details.
If you mix up this order, you’re more likely to end up with duplicate work or components that get in each other’s way. See also: The 7 Biggest Mistakes in a Bathroom Renovation.
Step 8 – Check the final delivery
The final step is to inspect the finished result. Check to make sure everything is neatly finished, fits properly, and functions correctly. Look for doors that open freely, plumbing fixtures that are securely installed, and seams that are neatly finished.
Be sure to consider practicality as well when evaluating the space. A bathroom may look beautiful, but it’s only through daily use that you’ll realize whether the layout really works.
How long does a bathroom renovation take?
The turnaround time depends on the approach chosen. In a traditional renovation, demolition work, drying times, and reconstruction often take a relatively long time. There are also renovation solutions that can be completed much more quickly.
Refresh Bathrooms completes full bathroom renovations in about 2 to 5 days, with minimal demolition work. This is especially appealing to those who want quick results and want to minimize disruption in their home. Read more here: Bathroom renovation in 1 day: how does it work?
What is a smart way to control costs?
The cheapest solution isn't always the most cost-effective in the long run. When it comes to a bathroom, it's not just the cost of materials that matters, but also labor, planning, repairs, and the possibility of additional work during the project.
A smart way to control costs is therefore to make decisions in advance, avoid unnecessary changes to the layout, and adopt an approach that fits the existing situation. The fewer surprises there are during the project, the better you can keep your budget and schedule under control. Those who research the average costs of a bathroom renovation can often plan more realistically in advance.
When is it especially advisable to seek professional guidance?
Professional guidance is especially valuable if you want to adjust the layout, renovate multiple areas at once, or minimize disruption. In those cases, it’s helpful when the design, choice of materials, and installation are well-coordinated.
Refresh Bathrooms specializes in complete bathroom renovations and works with its own installation team. During an on-site consultation, the design, color samples, and quote are all discussed right away, so you’ll have a clear idea of the options ahead of time.
FAQ
What is the best order to renovate a bathroom?
The logical sequence is: determine your needs, take measurements, choose a layout, coordinate technical connections, select materials, plan the project, renovate the bathroom, and then inspect everything upon completion. You may also want to use the Bathroom Renovation Checklist to make sure you don’t overlook anything.
What is the correct order of steps for a bathroom renovation?
First, you lay out the plan, then you work from the basics to the finishing touches. So first come the preparation and technical aspects, then the walls and floor, and only after that the plumbing, furniture, and finishing touches.
What is the order of the renovation?
When designing a bathroom, you always work from the big picture to the details and from the basics to the finer points. The subfloor and layout come first; visible work and finishing touches come later.
Can a bathroom be renovated without major demolition work?
Yes, that’s possible, depending on the renovation method you choose and the condition of the existing bathroom. Refresh Bathrooms uses plastic composite panels over existing tiles, which allows for renovation with minimal demolition work.
What are the best topics to discuss during an initial consultation?
Discuss your current situation, what you want to update, the look you’re going for, which elements are important to you, and how much you value speed or ease of use. This will help you come up with a practical and feasible plan more quickly. If space is limited, it’s also a good idea to consider the best layout for a small bathroom in advance.