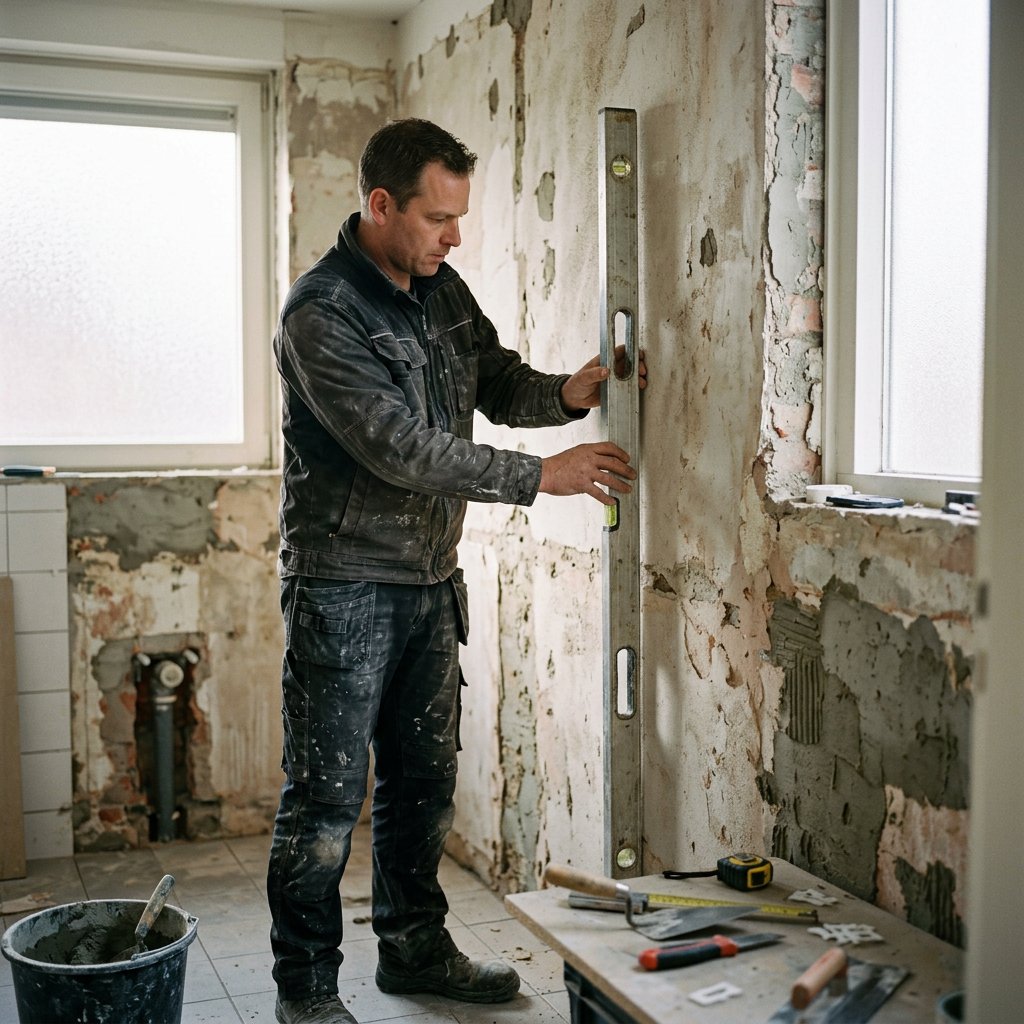
Renovating Crooked Walls in the Bathroom
Crooked or uneven bathroom walls often don’t really stand out until the old tiles are removed. It then quickly becomes clear that the problem lies not only in the finish, but in the layer beneath it. In a bathroom, a straight wall isn’t enough: above all, you need a stable, level, and waterproof base for tiles or wall panels. If you know in advance when leveling is sufficient and when rebuilding is a wiser choice, you can prevent leaks, cracks, and unnecessary additional costs down the road. If you prefer a quick, seamless finish, waterproof bathroom wall panels offer a solid, waterproof solution for imperfect surfaces.
What causes the misalignment?
Unevenness is often caused by old layers of cement or stucco, differences in height after removing tiles, previous repairs, or moisture that has damaged the subfloor. Sometimes a wall was simply never properly squared or leveled to begin with. A slight difference of a few millimeters is usually just a cosmetic issue, but when it reaches about 1 to 1.5 cm or more, it has technical implications for waterproofing, tiling, and the installation of plumbing fixtures. Therefore, always consider the big picture: the substrate, hidden pipes, load-bearing capacity, and the area around the shower, toilet, or sink determine the right solution.
How to Choose the Right Approach for Your Bathroom Wall
When renovating a bathroom with uneven walls, your decision comes down to four factors: how much the wall deviates from a straight line, how sturdy the existing surface still is, whether it’s a wet area, and what kind of finish you want. Sometimes you can keep the existing structure; sometimes leveling it out makes sense; and sometimes completely rebuilding it is the safest option. In a bathroom, convenience and low cost should never take precedence over durability and waterproofing. The desired finish also matters: both tiles and wall panels require a suitable, level base.
Fill and plaster to create a smooth surface
Filling or plastering is appropriate if the substrate is still solid but, after removing tiles, shows a recessed area, adhesive residue, or slight unevenness. Using a product suitable for wet areas, you can restore the wall to a single smooth surface, ensuring that tiles or other types of wall coverings in the bathroom will fit neatly later on. In the shower area, however, a proper waterproof structure is still required before the final finish is installed. Important: Not every plaster or stucco product is suitable for direct or prolonged exposure to moisture.
Removing Old Layers and Rebuilding
In cases of thick, old layers of mortar, loose sections, cracks, or a wall composed of multiple types of materials, rebuilding is often the better choice. Filling in large differences over an unstable layer may seem faster, but it rarely provides a durable foundation. Returning to a solid substrate prevents the new finish from peeling or cracking later on. Demolition must be done carefully, especially in bathrooms where plumbing and electrical wiring may be embedded in the wall. The logical sequence is: remove, repair, level, build up a waterproof layer, and only then apply the finish.
Working with moisture-resistant sheets or wall panels
Moisture-resistant building panels or a wall-mounted system with wall panels are good options if you want to create a new, straight line against a challenging existing wall. Building panels can serve as a solid base for tiling, while waterproof wall panels are an alternative if the structure is technically suitable for them. For renovations using panels—such as those Refresh Bathrooms uses in complete bathroom and toilet renovations—the substrate remains the determining factor; follow our step-by-step guide for installing wall panels. Panels do not solve hidden moisture problems or issues with loose back walls. In fact, seams, joints, and fastenings require extra attention in wet areas. If you want to avoid seams, check out how seamless bathroom walls work.
When additional demolition or plumbing work is necessary after all
Not every crooked bathroom wall can be corrected in just one spot. Sometimes, during the renovation, it becomes clear that a more extensive technical intervention is needed.
- Renovations that involve minimal demolition work are best suited for cosmetic upgrades. In cases of significant misalignment, loose layers, or hidden damage, additional demolition is often unavoidable.
- If the shower, toilet, plumbing, or electrical wiring needs to be relocated, a minor wall modification can quickly turn into a major renovation; in that case, consider renovating the entire bathroom.
- Crooked lines around conduit channels, niches, or built-in components usually require technical adjustments first before finishing makes sense.
- If the defect is limited to a single stable section of the wall, localized repairs may be sufficient. If the problem extends across multiple sections or corners, it is often wiser to address the entire section of the wall.
These checkpoints prevent leaks, cracks, and uneven finishes
A well-designed bathroom doesn't start with the tile or panel, but with the foundation behind it. These checkpoints help prevent mistakes early on.
- Make sure the surface is level, stable, and dry before you begin installation. A weak foundation is more likely to cause cracks and peeling finishes.
- In wet areas, always ensure a watertight installation in accordance with the chosen system and the product specifications. This is especially important in and around the shower.
- Pay close attention to the joints between the wall and floor, corners, and penetrations. That’s exactly where leaks occur if the seal or flashing isn’t installed correctly.
- Measure carefully when planning tile heights, plumbing fixtures, shower walls, and faucets. Even a small measurement error is quickly noticeable in a bathroom.
- Keep the wall construction as consistent as possible. Too many different materials and layer thicknesses increase the risk of movement, cracks, and uneven lines.
- Don't forget about ventilation and drying time. Even a technically sound construction will perform poorly if moisture cannot escape properly or if the finish coats are subjected to stress too soon.
Do it yourself or hire a professional?
Whether you can do the work yourself depends mainly on the type of defect, the affected area, and the complexity of the structure.
| Situation | Want to do it yourself? | Key Risk | When a Professional Is More Sensible |
|---|---|---|---|
| Slight difference in height after removing the tiles | Sometimes feasible for an experienced DIYer | Final result not sufficiently flat | If the wall needs to line up exactly with plumbing fixtures, a shower enclosure, or panels later on |
| Leveling in a wet area | Limited suitability | Incorrect choice of materials or a flaw in the waterproofing | When it comes to the shower area or when multiple layers need to be rebuilt |
| Loose old layers, cracks, or mixed substrates | Usually not | Unstable foundation beneath the new finish | For larger deviations and full-wall construction, a lattice structure is clearly safer |
| Relocating Piping, Electrical Wiring, or Plumbing | Not recommended | Damage to pipes, leaks, or unsafe conditions | For combined bathroom renovation projects, professional coordination is almost always the best choice |
Costs and scheduling: What do you need to consider?
The cost depends mainly on the scope of the work. Straightening a single wall is quite different from renovating an entire bathroom.
| Component | Impact on the budget | Impact on scheduling |
|---|---|---|
| Correct only one wall | Often limited if the subgrade is still in good condition | Relatively short, provided that little recovery time is needed |
| Removing Old Layers and Restoring the Substrate | Clear increase in expenses due to demolition and repairs | Extra time for removal, leveling, and drying |
| Modifying plumbing or electrical systems | Could significantly increase costs | Requires coordination across multiple stages of the renovation |
| Complete bathroom renovation | On average, it ranges between €12,500 and €15,000; crooked walls can add a small or, conversely, a significant amount to that total | It's not just the installation that matters, but also the drying time, waterproofing, and the chosen finish—whether tiles or wall panels |