
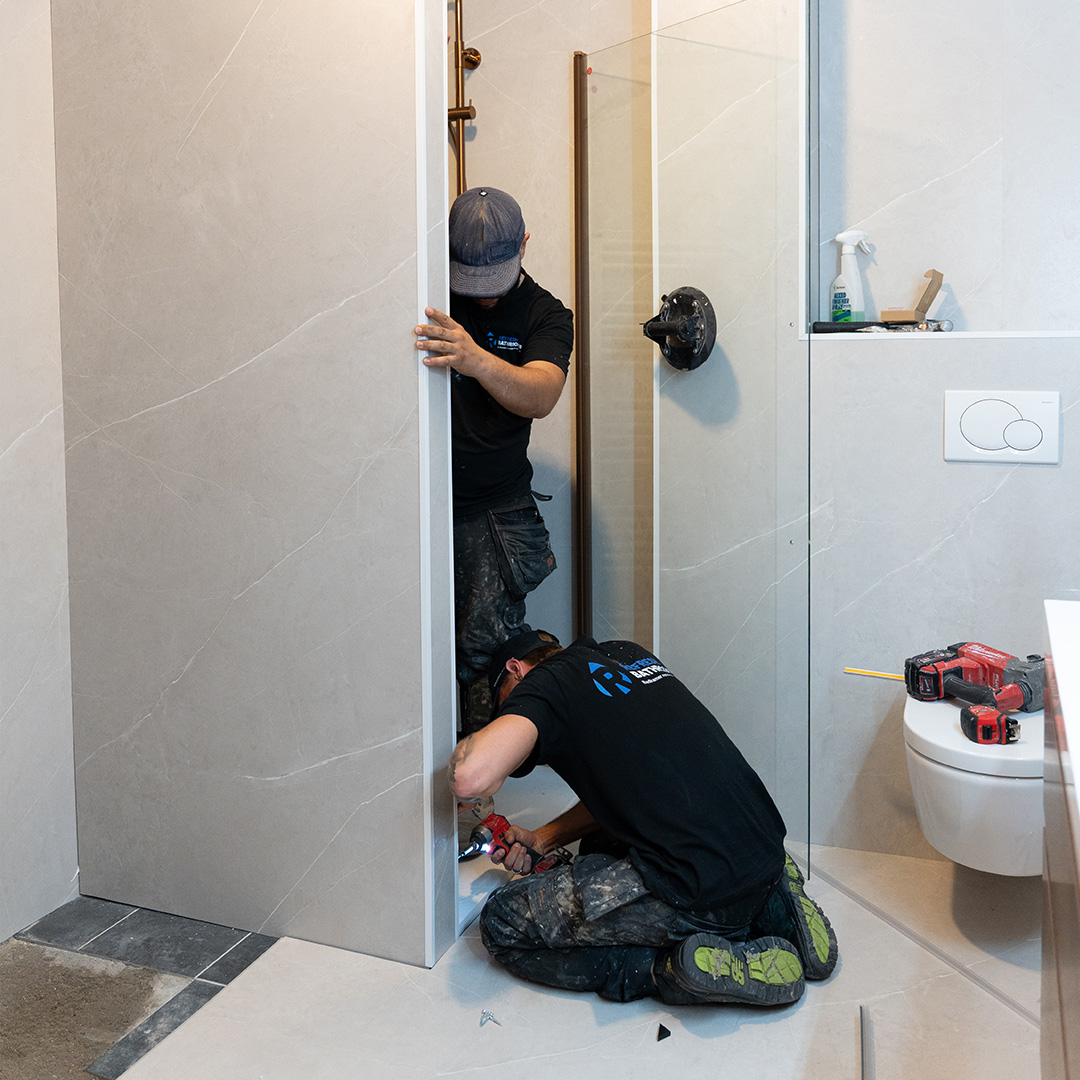
Installing shower wall panels is a smart way to quickly create a sleek, modern, and water-resistant shower enclosure. This is particularly appealing for renovation projects because the panels can often be installed over existing tiles, minimizing the need for chiseling and demolition. On this page, you’ll learn what factors contribute to a successful installation and how Refresh Bathrooms applies this approach in bathroom and shower renovations.
When Shower Wall Panels Are a Logical Choice
Shower wall panels are particularly appealing if you want to update an outdated shower area without a traditional tile renovation. They provide a clean, seamless finish and are well-suited for renovations where speed, neat installation, and minimal disruption are important.
At Refresh Bathrooms, plastic composite panels are used as part of a broader bathroom or shower renovation, such as when replacing a bathtub or shower pan with a walk-in shower. Therefore, we do not sell individual panels; rather, we install them as part of a complete renovation of the space or shower setup.
How to Install Shower Wall Panels in Practice
A good result doesn’t start with the panel itself, but with the substrate, dimensions, and finish of all connections. In a shower area, the installation must not only be precise, but above all durable and able to withstand daily exposure to water. For a complete guide, from preparing the substrate to applying sealant: Step-by-Step Guide to Installing Wall Panels.
1. Assess the existing wall
Before shower wall panels can be installed, it must be determined whether the wall is suitable as a base. In renovation projects, this often involves existing tilework. If the surface is stable, level enough, and securely attached, it can serve as an excellent base for new panels. Loose tiles, damaged sections, or an unstable wall must be addressed first.
2. Clean and prepare the surface
For proper adhesion, the wall must be clean, dry, and free of grease. In a bathroom, this means paying extra attention to soap scum, limescale, dirt, and old caulk lines. Small amounts of dirt make a big difference, especially in the shower area, because the finish there is exposed to moisture and temperature fluctuations on a daily basis.
3. Measure accurately and determine the cutouts
When installing shower wall panels, precise measurements are essential. Consider mixer faucets, pipes, shower fixtures, and corners where the panels need to fit neatly. The more accurate the measurements, the cleaner the final look, and the better the chance of a neat, watertight finish around penetrations and edges. Read more about measurements and choosing profiles in “Dimensions and Thickness of Wall Panels.”
4. Install the panels and have them connected
After preparation, the panels are installed on the wall and carefully positioned. This involves not only ensuring they are installed straight, but also ensuring a proper fit in corners, along edges, and around mechanical components. This is more important in a shower than in a dry area, because that is precisely where water tends to find the weakest spots.
5. Seal seams and joints
The final step is crucial for the lifespan of the shower enclosure. Edges, joints, corners, and penetrations must be properly finished to prevent moisture from getting behind the panels. A neat finish not only ensures a sleek appearance but also helps keep the enclosure easy to maintain. See also “Waterproof Finishing of Shower Enclosure Panels” for materials and techniques.
Can you install shower wall panels over existing tiles?
Yes, that’s possible in many cases. That’s precisely what makes this solution popular for renovations. If the existing tiled wall is still sturdy and provides a solid foundation, new shower wall panels can be installed over it. This minimizes demolition work and allows the space to be renovated more quickly.
However, it is always necessary to assess the existing situation first. If there are loose tiles, severe damage, or a substrate that is no longer reliable, repairs must be carried out first. The question, therefore, is not only whether it is technically feasible, but above all whether it is the right approach to ensure a sustainable end result.
Areas in the shower that require extra attention
Not every wall in the bathroom is subjected to the same stress. In the shower area, water, steam, and daily temperature fluctuations directly affect the finish. That’s why installing shower wall panels here requires extra precision in three areas:
- Corners and transitions – These are critical areas where water can easily seep in if the connection is not properly installed.
- Pipe Penetrations and Faucet Work – The finish must fit neatly around pipes and mixer faucets to prevent gaps and moisture problems.
- Coordination with the rest of the renovation – The wall panels must complement the shower floor, screen, faucet, and other shower finishes.
Precisely because everything comes together in the shower area, installation is usually not a standalone task but part of the overall renovation plan. For a seamless look, seamless wall cladding in the shower is a good alternative.
Have shower wall panels installed as part of your renovation
People searching for “installing shower wall panels” are often looking not just for the installation itself, but for a solution that works in practice as part of a complete bathroom renovation. That’s exactly how Refresh Bathrooms approaches it: as part of a renovated shower or bathroom, with panels installed over existing tiles and with as little disruption as possible during the work.
This is a great fit for renovations where speed, a clean finish, and a clear approach are important. Think of updating an outdated shower, replacing a bathtub with a walk-in shower, or modernizing the entire bathroom without unnecessary demolition work. Want to stay in control of your budget and installation? Check out the costs and prices of bathroom wall panels.
FAQ
How do you install shower wall panels?
Shower wall panels are installed on a suitable, stable, and properly prepared wall. After that, it’s all about precise measurements, correct installation, and a watertight finish for seams, corners, and penetrations. In a shower area, that last step is especially important.
What do you put behind the shower wall panels?
That depends on the current situation. During a renovation, panels can often be installed over existing tiles, as long as the subfloor is sturdy and suitable. If the subfloor isn't in good enough condition, it must be repaired first before the panels can be installed.
What are the best wall panels for a bathroom?
For a bathroom, it’s especially important to choose panels that are suitable for damp areas and that can be easily incorporated into a sustainable renovation. Refresh Bathrooms uses plastic composite panels that are installed on walls and floors as part of bathroom and shower renovations. If you’re still undecided between shower wall panels and tiles, it’s worth taking a look at that comparison as well.